Ready to combine your love for tractors and quilting? This guide provides a range of tractor quilt patterns for all skill levels, from beginner-friendly projects to challenging designs for experienced quilters. We'll walk you through each step with clear instructions, diagrams, and photos, ensuring a fun and rewarding experience. Let's get started!
Beginner-Friendly Tractor Quilt Patterns: Easy Peasy Quilting!
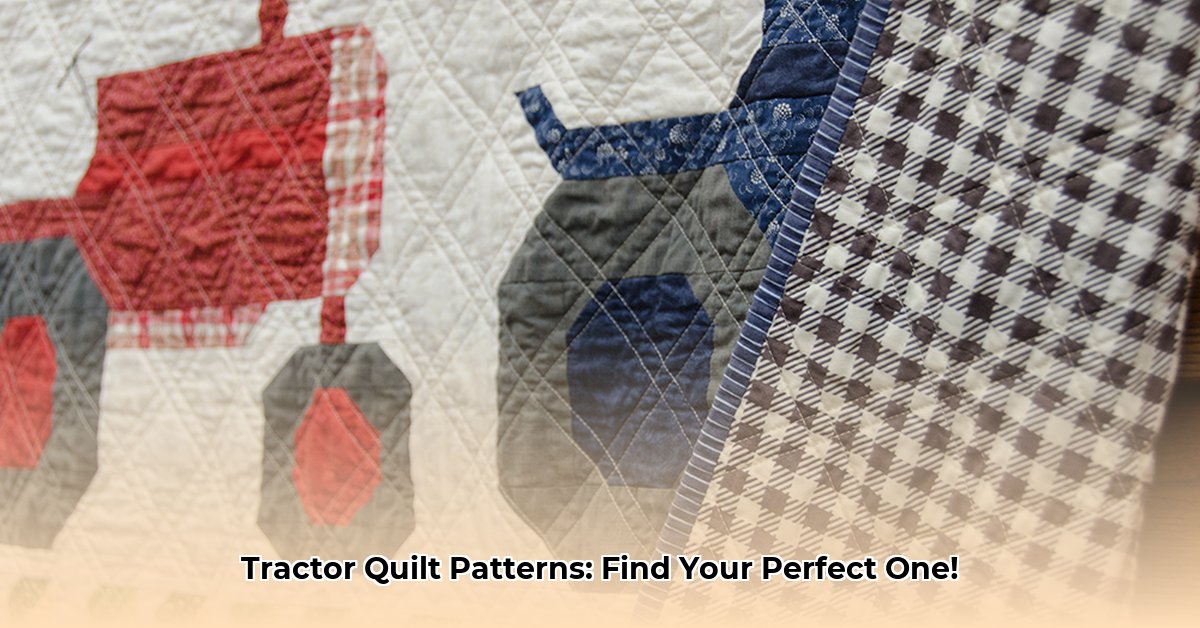
These patterns are perfect for those just beginning their quilting journey. Simple shapes and straightforward techniques allow you to focus on the joy of creation!
Simple Patchwork Tractor Quilt
This project uses basic squares and rectangles to create an adorable pieced tractor. It's a fantastic introduction to quilting! Are you ready to experience the satisfaction of seeing your colorful patches come together?
Materials:
- Variety of cotton fabrics in red, green, brown, black, and yellow (scraps work great!)
- Batting (a lightweight option is ideal for beginners)
- Backing fabric
- Thread
- Rotary cutter, ruler, and cutting mat (essential for accurate cutting)
- Sewing machine
Steps:
- Cut fabric squares and rectangles according to your chosen pattern (easily found online with a quick search).
- Sew the pieces together, following the pattern's order. Take your time – accuracy is key!
- Assemble the tractor sections.
- Layer the quilt top, batting, and backing fabric.
- Quilt and bind your creation! A simple straight-line quilting pattern is perfect for beginners.
Simple Appliqué Tractor
This pattern introduces appliqué, a technique that adds personality and detail to your quilt. Using pre-cut felt or fabric shapes, you'll create a cheerful tractor design. Is appliqué intimidating? It's actually easier than you think!
Materials:
- Cotton fabric for the background
- Felt or fabric for the appliqué pieces (pre-cut shapes are a great timesaver)
- Fusible interfacing (makes appliqué much easier!)
- Thread
- Iron and ironing board
Steps:
- Choose your fabric and carefully trace the tractor shapes onto the fusible interfacing.
- Fuse the interfacing to the wrong side of your chosen fabric.
- Cut out the appliqué shapes neatly.
- Position your shapes on your background fabric and adhere them using the fusible interfacing (following package instructions).
- Stitch around the edges to permanently attach the appliqué.
Intermediate Tractor Quilt Patterns: Stepping Up Your Stitch Game!
Ready for a more challenging project? These patterns introduce more complex techniques, letting you create more intricate tractor designs.
Log Cabin Tractor
This pattern utilizes the classic Log Cabin method. Each block is unique, building the tractor shape piece by piece. It's a fantastic way to practice precision and color coordination. Are you ready to make a truly unique quilt?
Materials:
- Variety of fabrics in your chosen colors
- Batting
- Backing fabric
- Thread
Steps:
- Create a central square; this is your tractor's engine!
- Add fabric strips around the central square, alternating colors and directions. It’s a great way to use up fabric scraps.
- Once you’ve created all your blocks, sew them together to form the tractor shape.
Advanced Tractor Quilt Patterns: For the Master Quilter!
These challenging patterns are for experienced quilters ready to showcase their skills.
Foundation Paper Piecing Tractor
This technique uses paper templates to create precise and complex shapes. The results are absolutely stunning! Are you ready to take on a project that truly tests your skills?
Materials:
- Foundation paper (available at craft stores)
- Variety of fabrics
- Pencil
- Small, sharp scissors
Steps:
- Print out the foundation paper pattern (many free patterns are available online).
- Carefully sew fabric pieces onto the paper template, following the pattern instructions rigorously. Take your time - accuracy is key!
- Once all pieces are sewn, carefully remove the paper backing.
Resources and Supply Checklist: Getting Your Materials Together
Gathering your supplies is half the fun! Here's a quick guide:
- Fabrics: Choose high-quality 100% cotton fabrics. Online retailers offer a wide selection.
- Batting: Select a quilting batting appropriate for your quilt size and desired loft.
- Cutting Tools: A rotary cutter and self-healing cutting mat are essential for efficient and accurate cutting. Consider an AccuQuilt GO! System for complex patterns.
Pattern Selection Guide: Finding Your Perfect Match
This table summarizes the options based on skill level and time commitment to help you find the perfect fit.
| Skill Level | Pattern Type | Time Commitment | Design Features |
|---|---|---|---|
| Beginner | Patchwork, Simple Appliqué | 1-2 days | Simple shapes, few seams |
| Intermediate | Log Cabin, Intricate Appliqué | 3-5 days | More intricate shapes, variety of fabrics |
| Advanced | Foundation Paper Piecing | 1+ week | Complex designs |
Remember, the key is to choose a pattern that inspires you. Happy quilting!
Tractor Quilt Pattern
Content about tractor quilt pattern (Auto-generated fallback due to API error).